
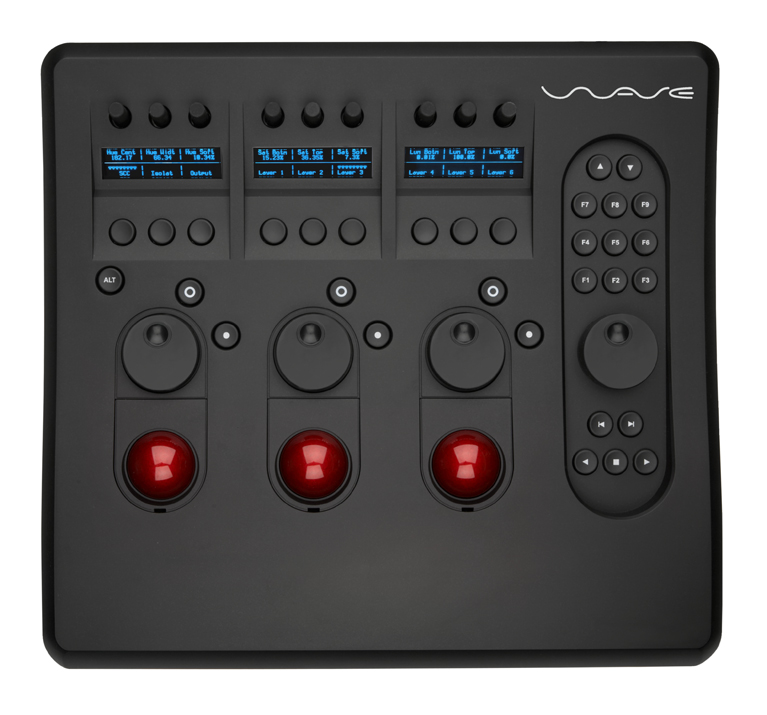
Pricedrop for the original Wave panel!
27. June 2018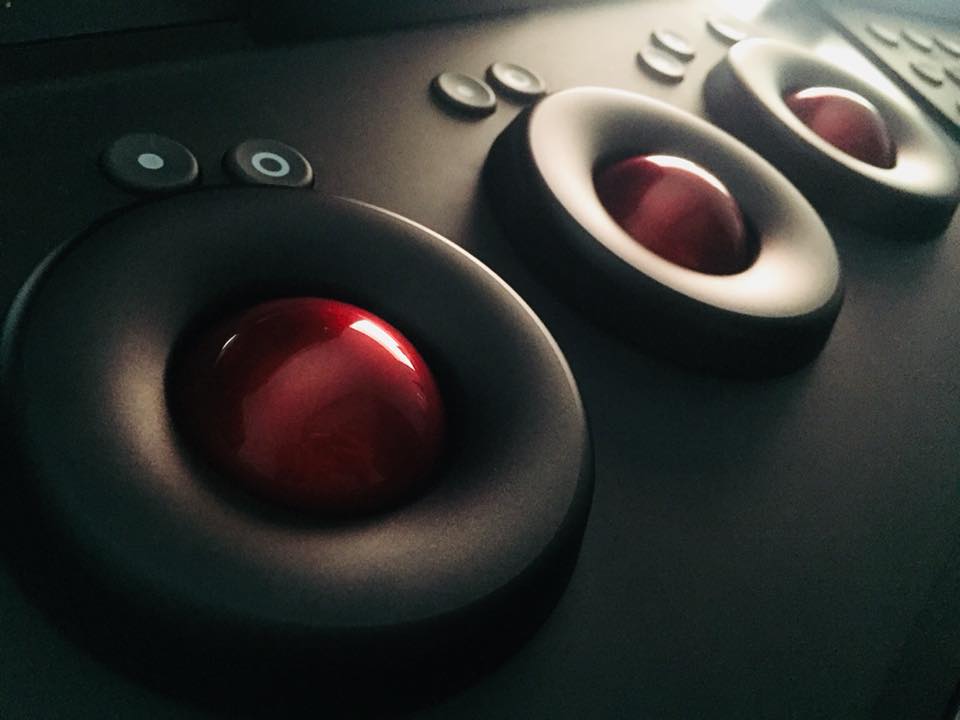
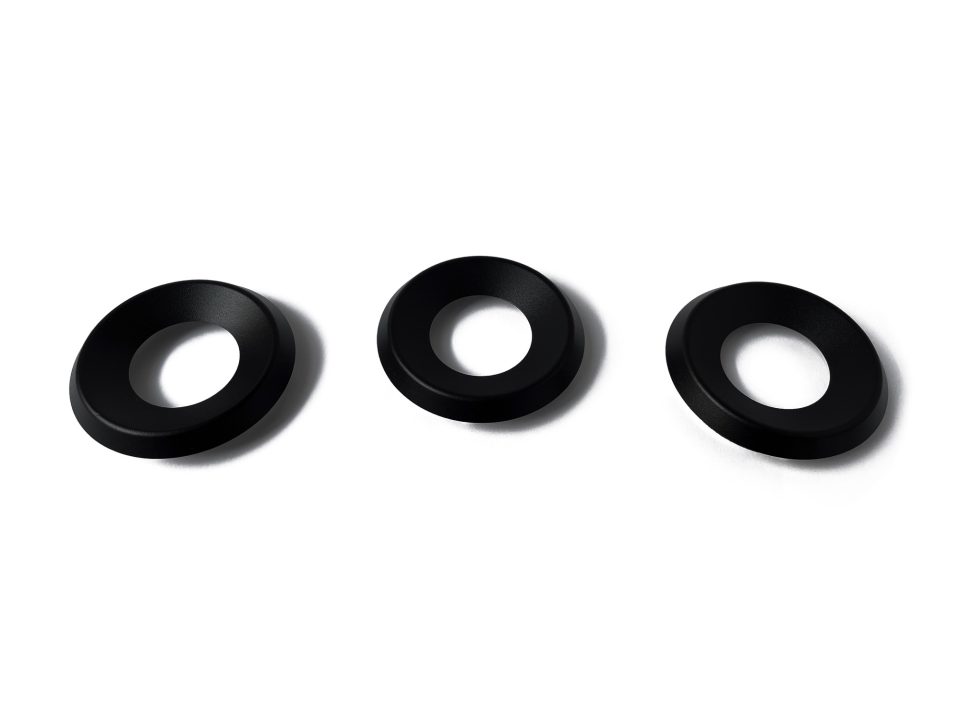
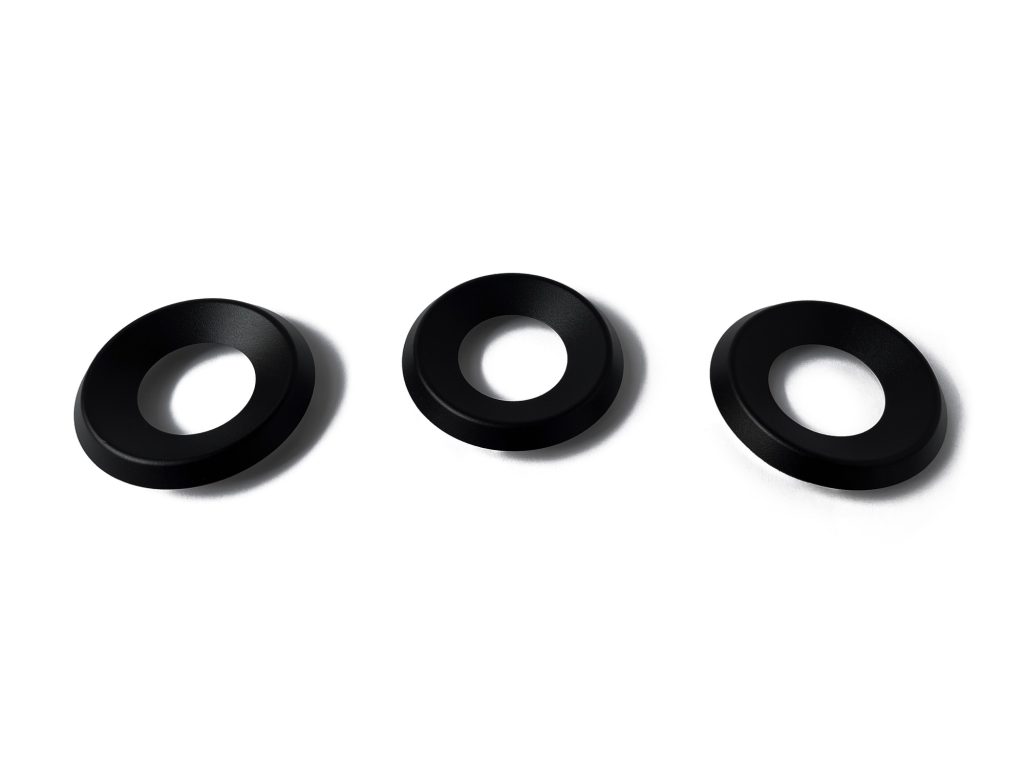
New Black Metal Rings
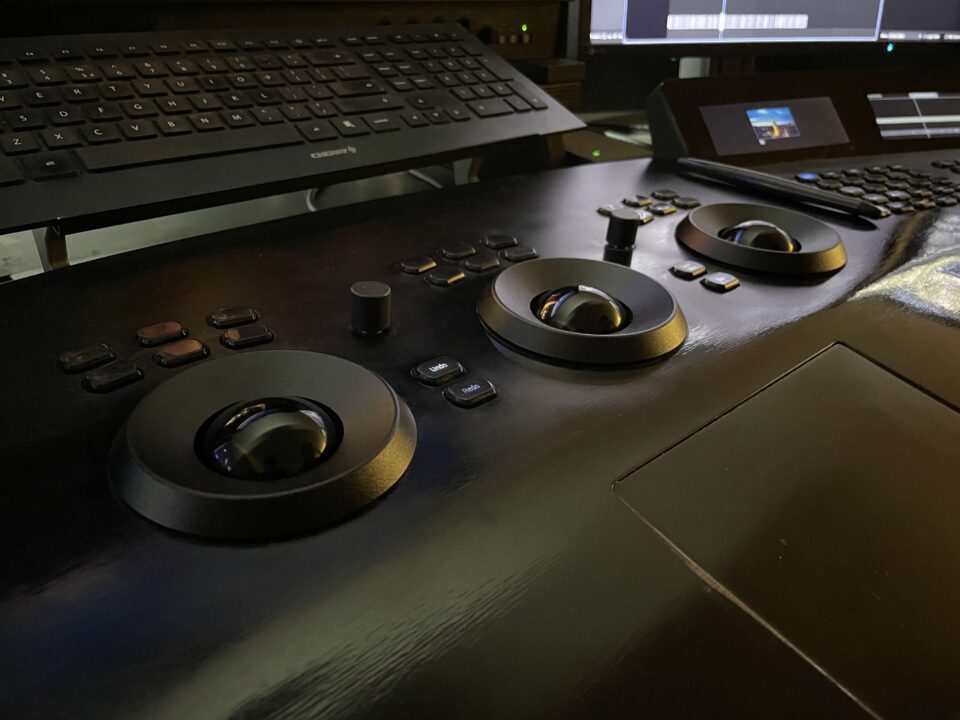
6. August 2018Avid Artist Color Panel Refurbish
Hi all,
to fill the summer hole, we decided to refurbish an Avid Artist Color panel.
Therefore, we got ourselfes an old, somewhat worn off panel and took it apart.
The issue with the Avid panel is, that the soft coating on the rings and chassis looks
really worn down after time and it even gets sticky, depending on how humid the air is.
What most artists really want, is to just get rid of the coating.
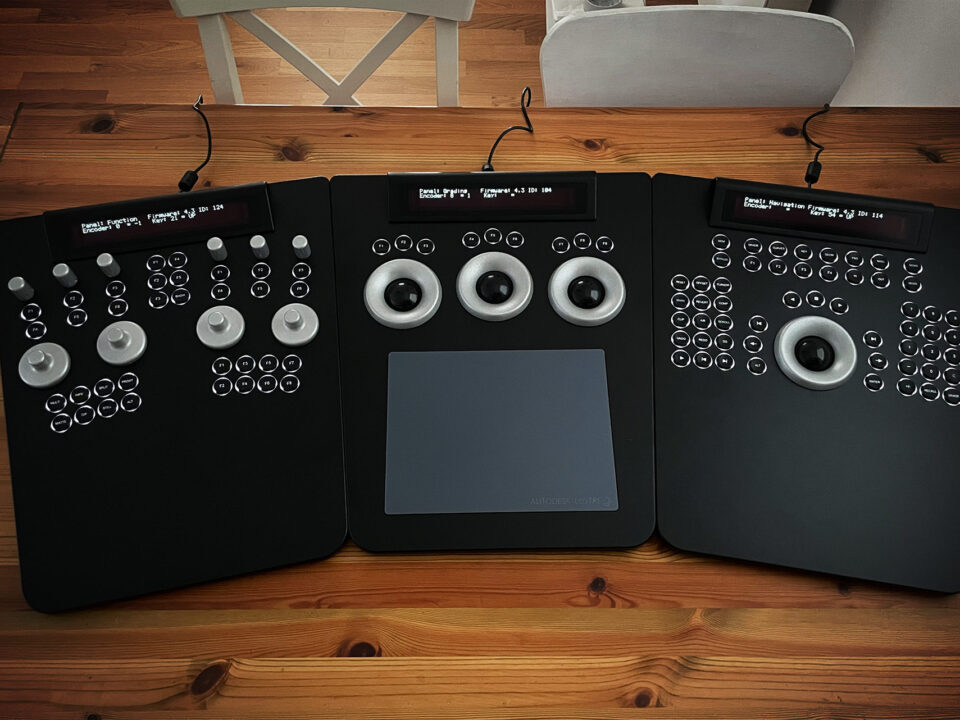
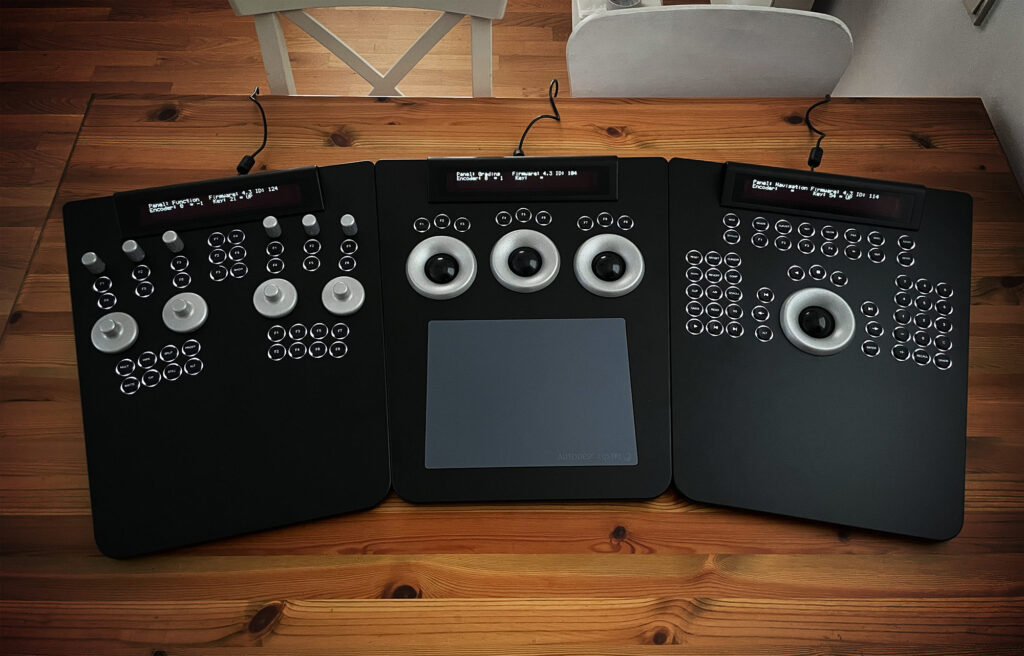
We took it two steps further and not only re-lacquered the whole panel, but also put
new encoder knobs on it, which is something everyone can do, even without disassembling the panel.
See our gallery below, we documented almost every step.
1. Disassembling the panel
It’s fairly straight forward, and anybody able to hold a screwdriver can do it (seriously).
The encoder knobs can simply be pulled off – next there is a bunch of screws (star-torx) in the bottom plate.
After removing those, you can just lift off the bottom plate and continue to remove the 4 screws holding each trackerball unit.
Disconnect the trackerballs and put them aside – next, go for the screws that hold the PCBs (circuit boards) in place and remove same.
What’s left are the buttons – just flip the chassis around and they should fall out.
The last thing is the glossy plastic cover with the Euphonix/Avid logo on it – to the very left and right of it, there are plastic clips.
No worries, they are really strong ones and you need some force to bend them to your will.
Be careful when lifting the plastic cover up – the little notches on the back break easily – you don’t want that!
Now you have the chassis separated from the electronics – only thing left are separating the rings from the trackball caddies.
Therefore, flip them around and turn the ball bearing to reveal the little screws holding the rings on the bearing (see picture in our gallery).
Each ring is being hold by 6 screws.
2. Wash down the softcoating
So this is the main part – and at the same time the one with the most physical work.
What you need to wash down the soft coating, is any sort of sticker-remover, or simply Isopropyl-alcohol.
When using, remember to wear gloves, as your skin will dry out rather fast with the alcohol.
Removing the coating from the rings is fairly easy and quick – you will see, that the plastic underneath has a fine texture on its own.
However for the chassis, you might wanna prepare a “bath” and let is soak in for a day or so, before getting to scrub the coating down using cloth.
Otherwise, it might be a couple of hours of continuous cursing.
If you do not wanna re-lacquer, you’re basically done now.
What I’d recommend is using some Cockpit spray on the plastic parts (not sure that exists in this form outside Germany,
but it’s simply plastic care spray, mostly used for car interiors) – something like this.
3. Re-lacquering the whole thing
In hindsight, I recommend leaving this to a professional – it will look better and likely be equally expensive (around 60 Euros).
Paint, especially the one that we chose, is not cheap 😉 .
Anyhow – in order to put on the lacquer on rings and chassis, you need a special plastic primer – and in order to apply that primer,
you should first sand the plastic a little – using sanding paper with a corn size of 400 should do the trick.
We were using a primer to apply with a paint brush, instead of spray – that is fine – after applying the lacquer you won’t see the paint strokes anymore.
But it’s important to tape over the glossy part of the chassis, so no paint can get onto it.
For the chassis we chose a “Hammerschlag” black metallic finish. We sprayed 3 times with sanding the surface inbetween with the fine sanding paper.
After that, the surface was good.
For the rings, we wanted to try out a dark grey structure paint lacquer, which we needed to apply with a paint brush as well.
Also did that 3 times (incl. sanding inbetween), until the color was good – however, here we still saw the paint strokes, which didn’t look too good.
We used a metal polishing fleece to sand over it and that made it look decent.
However, in hindsight we’d recommend to just leave the rings as they are after washing down the soft coating.
Looks more than acceptable (especially after applying some plastic care spray) and you’re not getting into the re-lacquering hassle 😉 .
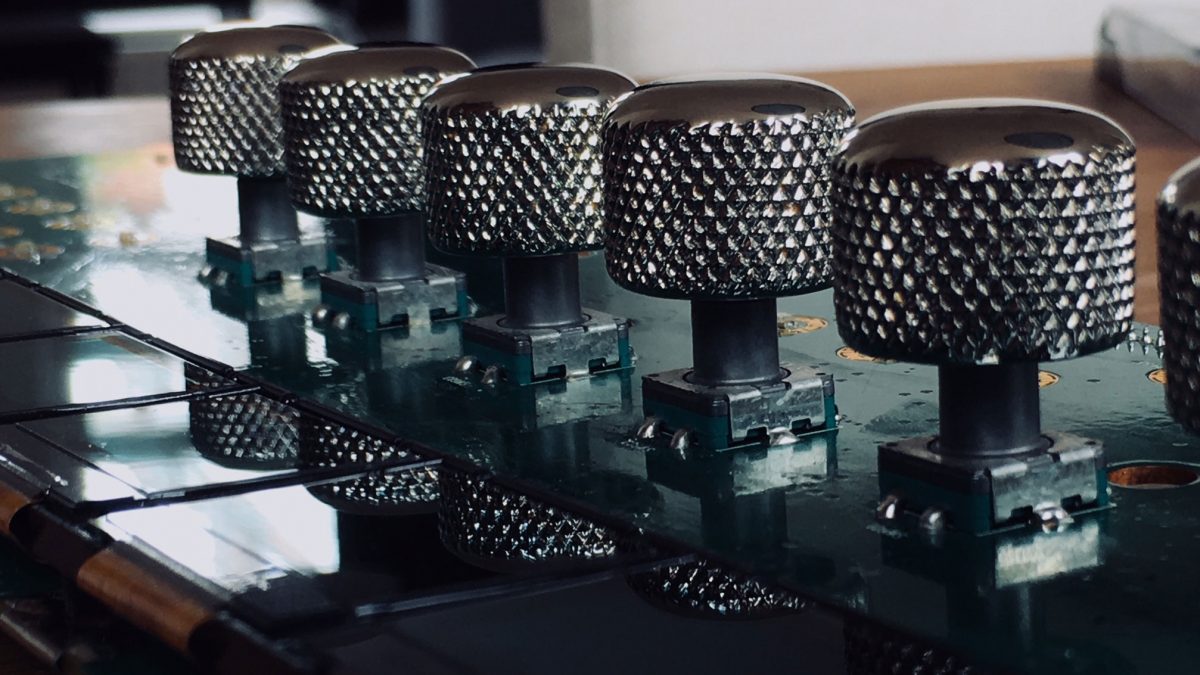
4. Re-assembly and new encoder knobs
Re-assmbly is easy – just put it back the other way round, no magic there.
Now for the encoder knobs: Those have a rather small diameter, and have a glossy plastic finish without any texture.
This makes them sometimes hard to turn – especially with sweaty fingers.
The pots underneath have a 6mm dome – just like most guitar pots have as well – so it should be easy to find a replacement here.
Doing this we can really recommend to anybody using the Avid Artist.
So we looked around on middle-europe’s Amazon of music equipment: Thomann.
We played with the thought of putting on really nice vintage Gibson, or Fender volume/tone knobs,
but since this really was just a fun project, we went with the cheapest 6 knobs we could find (15 bucks incl. shipping).
But feel free to let your creativity fly: https://www.thomann.de/nl/potiknoppen.html
After putting them on, we noticed that it was really hard to tighten the screws of the knobs, so they would sit straight on the
pot-dome. We were not really able to achieve this – possibly, because we just bought the cheapest ones, that are not as accurately machined.
Anyhow – during operation, you wouldn’t be able to notice the “wobblyness” of the knobs and having them on really
easens the functionality of those pots.
Done!
Doesn’t look too bad with the new mateallic finish, dark grey rings and new encoder knobs 🙂 .
See our gallery with all pictures below:


