Rings, Trackerballs and Bundles back in stock!
29. April 2020
Refurbishing Tangent Element Panels
13. September 2020Upcycling Element Panels
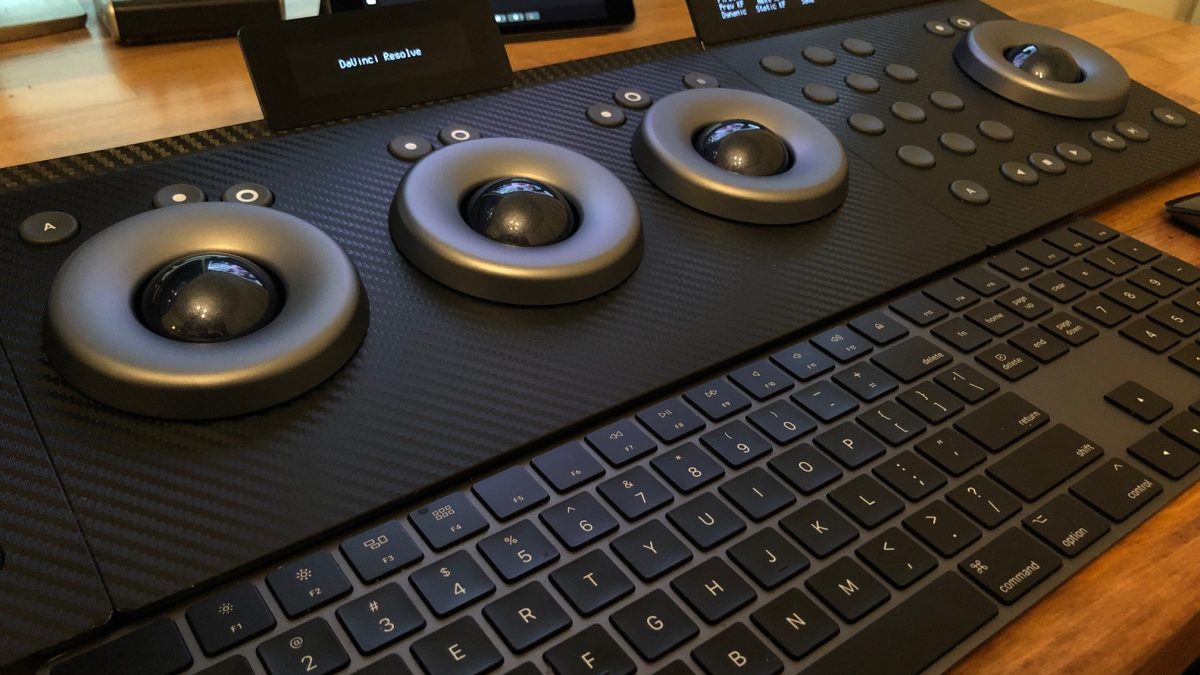
Tangent’s Element panels are probably the most widely used ones out there – and for good reason!
They are functional, customizable, modular, small desktop footprint and they are supported by a wide range of software.
One of their main downsides though is the softcoating applied to their fascias.
While it feels nice and soft at the beginning, over time it will become sticky, scratched and
neither feel, nor look nice anymore. The DIY solution to this problem is easy: adhesive foil.
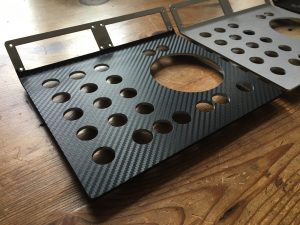
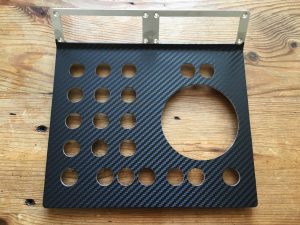
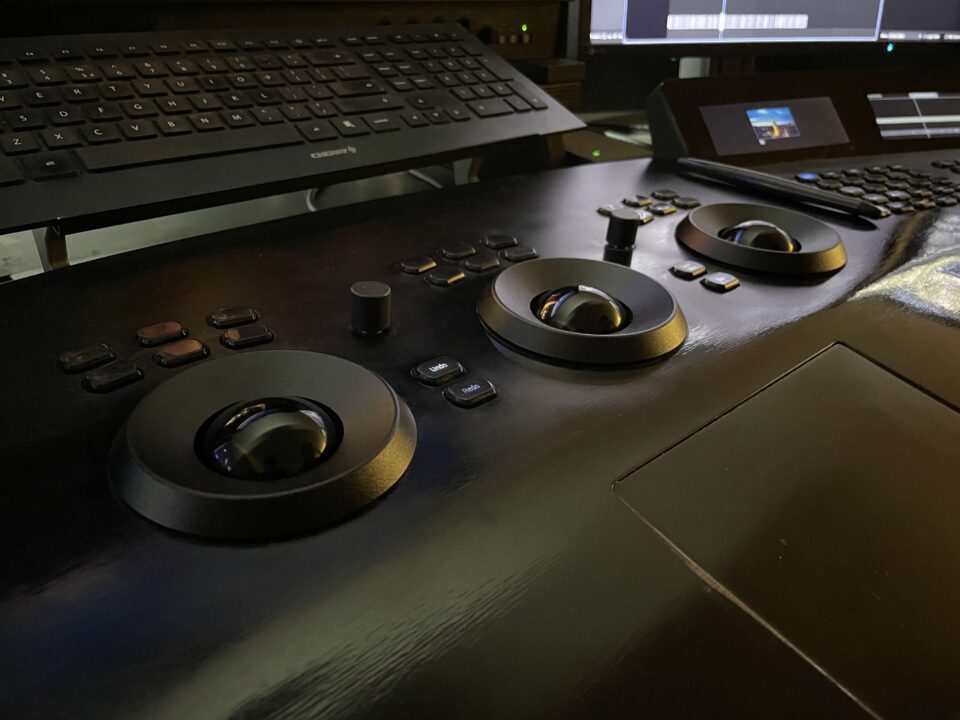
The picture at the top shows the Element set of one of our customers – Adolfo Martinelli,
who used adhesive carbon foil to cover the fascias and gave his Elements a fantastic new look.
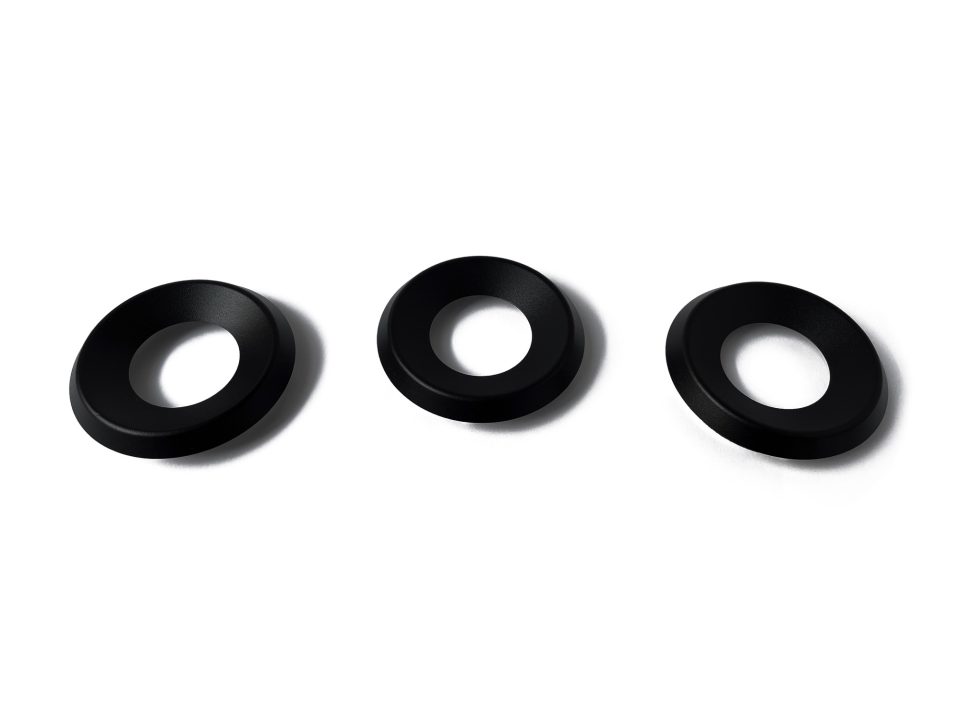
He also got our space grey anodized aluminium rings and dark petrol metallic trackerballs to finish the setup.
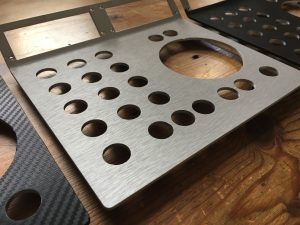
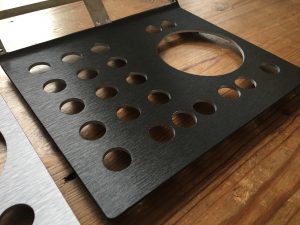
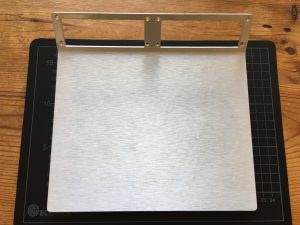
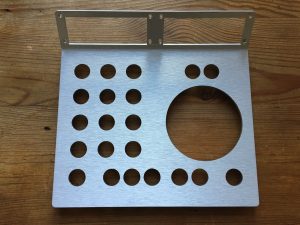
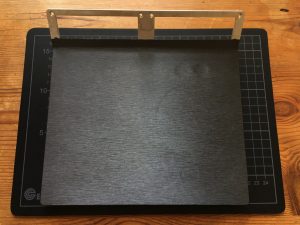
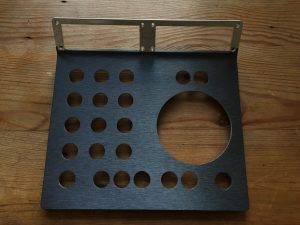
Want a just-as-awesome looking Element setup? We had a try with carbon, silver- and black-brushed aluminium foil.
The results are below and they look pretty damn good. Scroll down to read what and how we did it, and even further
down check out the gallery with step-by-step images.
Here’s what we’re gonna do:
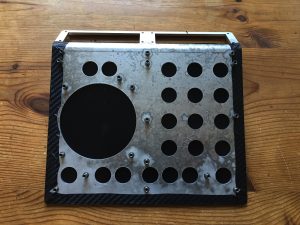
– take apart the panels
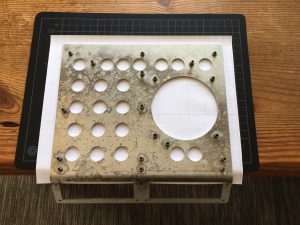
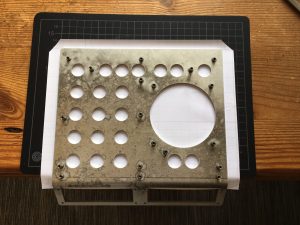
– wash down the softcoating with acetone
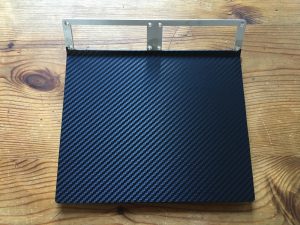
– foil the fascias
– and put everything back together
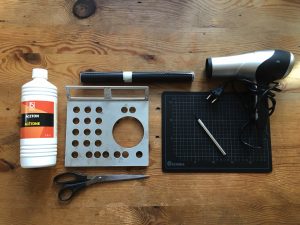
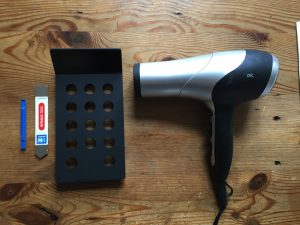
Tools needed:
– adhesive foil according to your taste
– Torx screwdriver
– pry tool (to take off the display shields, which are glued)
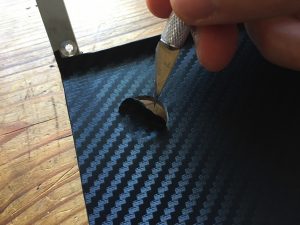
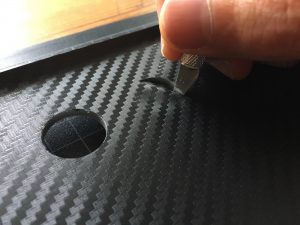
– scalpel (to cut out button holes from the applied foil)
– hair dryer (to make the foil stretchable)
– scissors
– ruler
– cutting mat
– double-sided tape
– acetone, or Goof Off (or whatever aggressive chemicals you may find)
For most of these steps, just go through the gallery below.
However, here are a few things to check before you start:
– when removing the silver stands, the magnets used to connect to panels (using those little link pins)
will fall out – be careful to not lose them when they do.
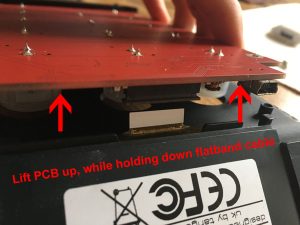
– when taking out the circuit board of any panel, you first need to disconnect the display.
To do so, you have to remove the flatband cable from its socket on the circuit board.
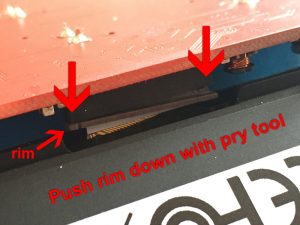
Note the small brown rim, you can lift with a small slot screwdriver to unlock the cable
and gently pull it out using e.g. a plastic pry tool.
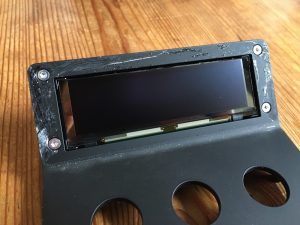
– you don’t have to necessarily also remove the display from the frame. If you can cut the foil accurately,
to just end below the display shield. However, washing off the softcoating with the acetone might get tricky,
as you do not want it to hurt the display, or the small flatband cable below.
– however, to do it properly and remove the display, you first got to lift off the display shield (plastic window)
using a pry tool, as it is glued to the frame. Once off, you will find the 4 screws that hold the actual display behind.
We will glue it back on using double-sided tape.
– for washing off the softcoating, do it outside or in a well ventilated room wearing gloves.
It might be easier to just let the chassis soak in an acetone bath over night, as washing off the coating
can be tedious and painful (most definitely will be).
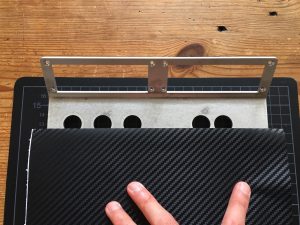
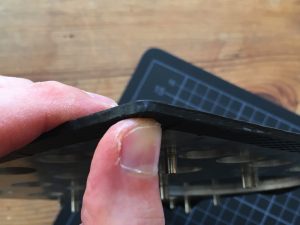
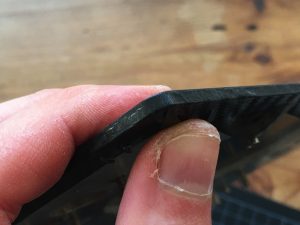
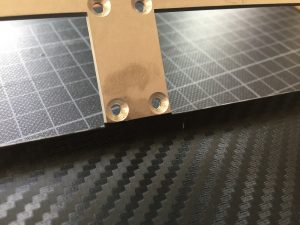
– when cutting the adhesive foil, make sure it has enough overlap to be wrapped around the edges of the fascia.
For the Element Mf panel we used here, we cut the foil to 25cm x 20cm and cut off the corners at the front end.
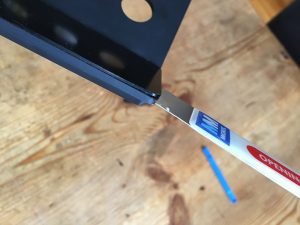
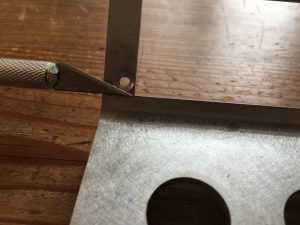
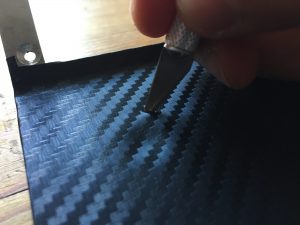
the foil has to go up just until below the display shields (see image with the scalpel held to the frame).
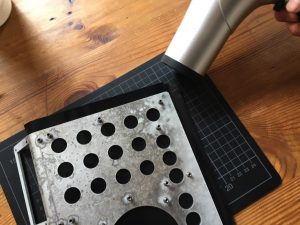
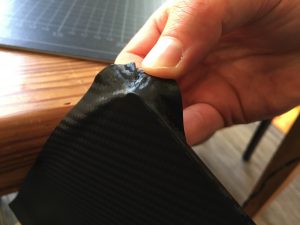
– use the hairdryer to heat up the corners and make them elastic in order to pull & stretch them around the corners of the fascia.
This will be very tricky to get right at the beginning and you’re not unlikely to need more than one try or sheet of foil.
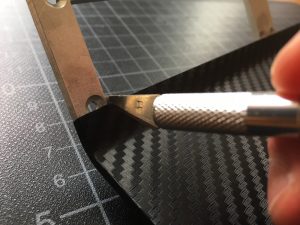
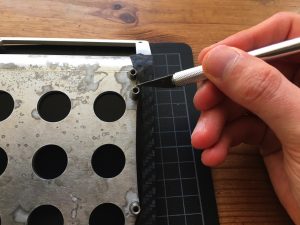
– now use the scalpel to cut holes into the foil covering the fascia now. This part is actually easier than it looks.
– lastly, put the display back in, glue the display shield on, put PCB back and don’t forget to connect the flatband cable.
Good luck!
Cheers,
Mazze

